What we want to do
We want to use the SSO from Keycloak with Drupal and use privacyIDEA's multi factor solution.
In this how to, we will not explain the installation and configuration of privacyIDEA. We will only show, how to configure Keycloak and Drupal to use privacyIDEA.
This is tested with Keycloak 6 and Drupal 8.7 on Ubuntu 18.04, but should also work with other versions.
Keycloak
Installation
First of all we should install and configure the privacyIDEA provider in our Keycloak instance. To do so, we put the plugin and the theme-file in the corresponding keycloak directories. In our case keycloak is stored in ~/keycloak. The packed PrivacyIDEA-Provider.jar, which you can find in our GitHub releases should be copied to ~/keycloak/standalone/deployment/. Then copy the theme-file privacyIDEA.ftl to ~/keycloak/themes/base/login/. For versions from 0.6 onward, the template does not have to be copied, since the jar automatically deploys it.
The privacyIDEA provider for Keycloak is now installed.
Configuration
To add privacyIDEA to a browser flow, we copy the default one and edit it.
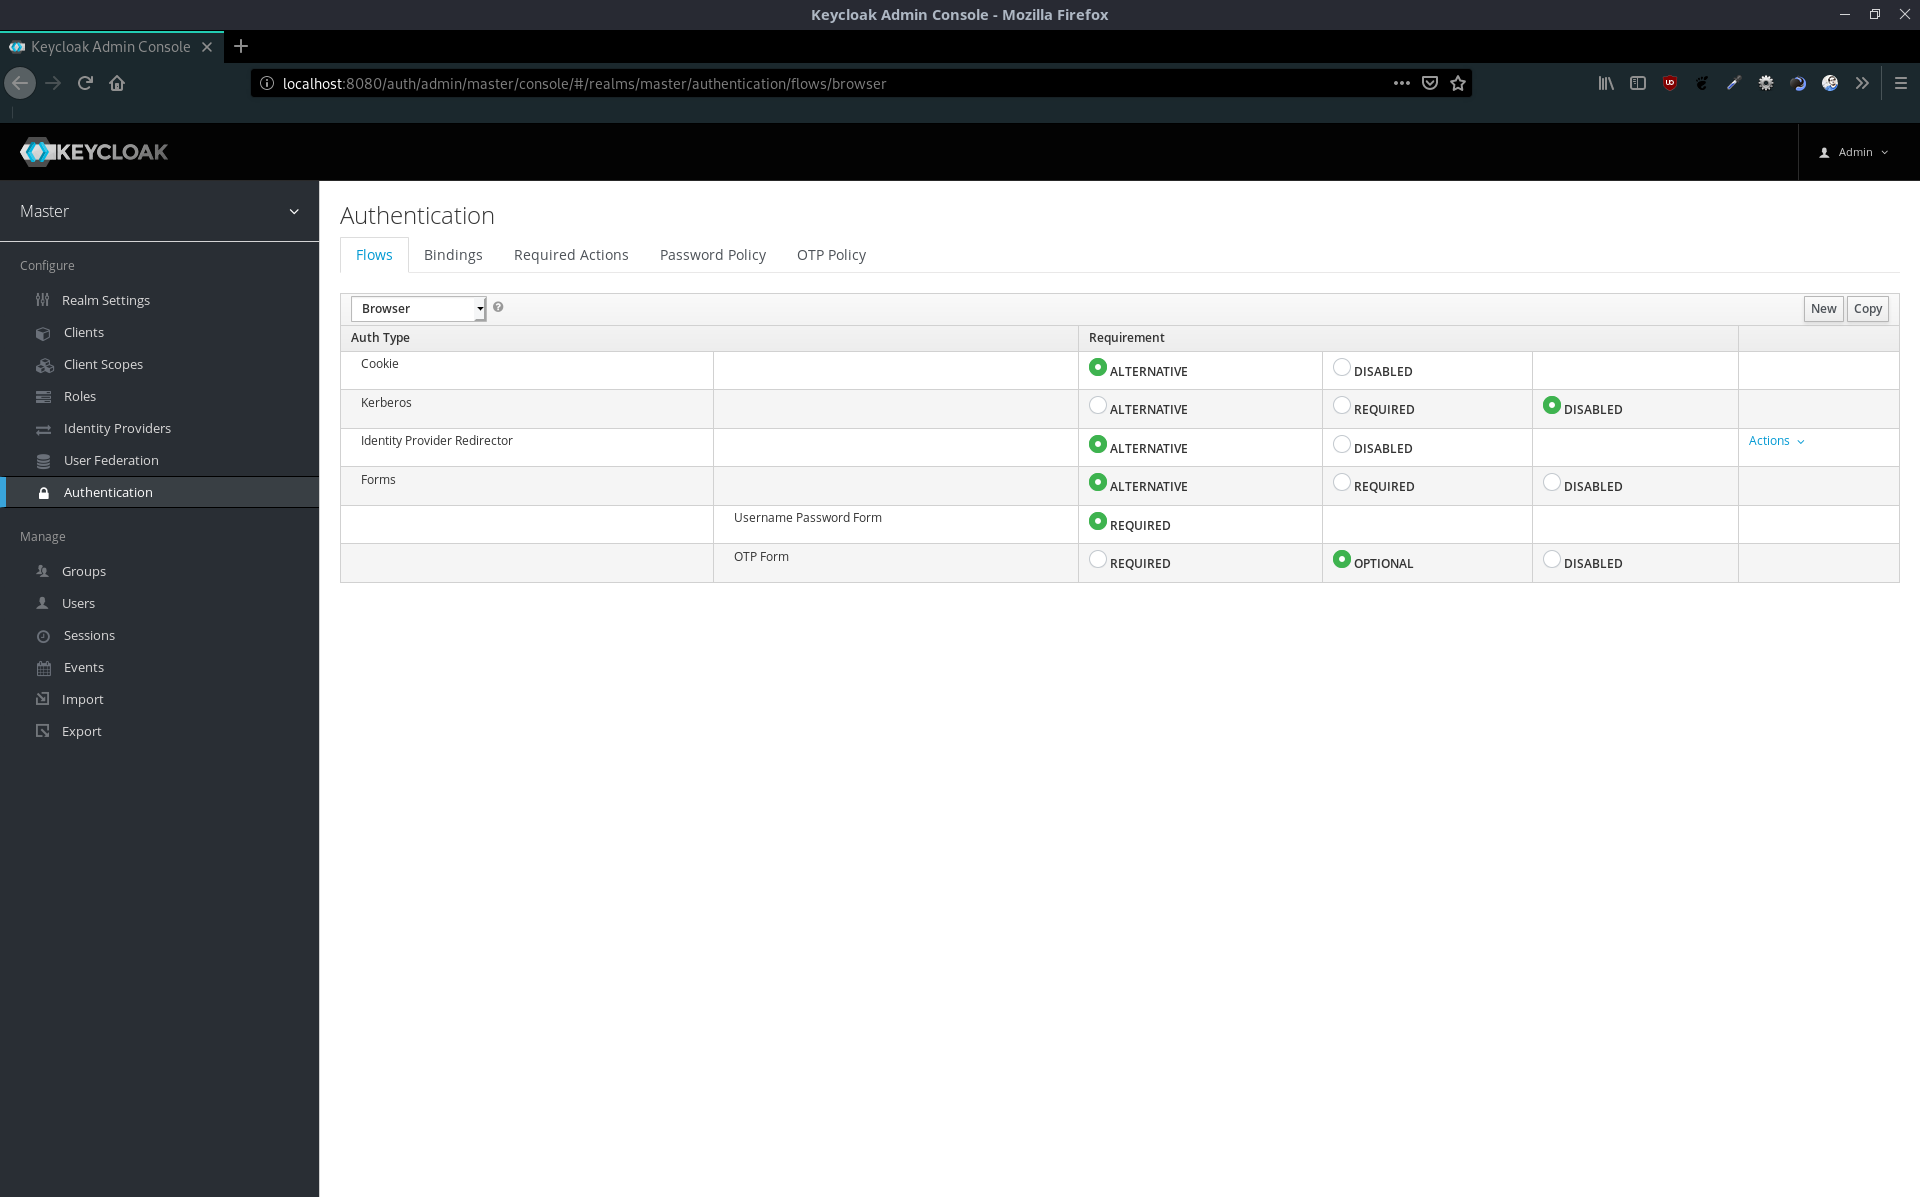
In our case we configure the flow in the following way:
- Cookie (if user is already logged in)
- privacyIDEA Forms (the flow, if user is not logged in yet)
- Username password form (the first factor)
- privacyIDEA (the second factor)
To do so, we add an execution to the privacyIDEA forms
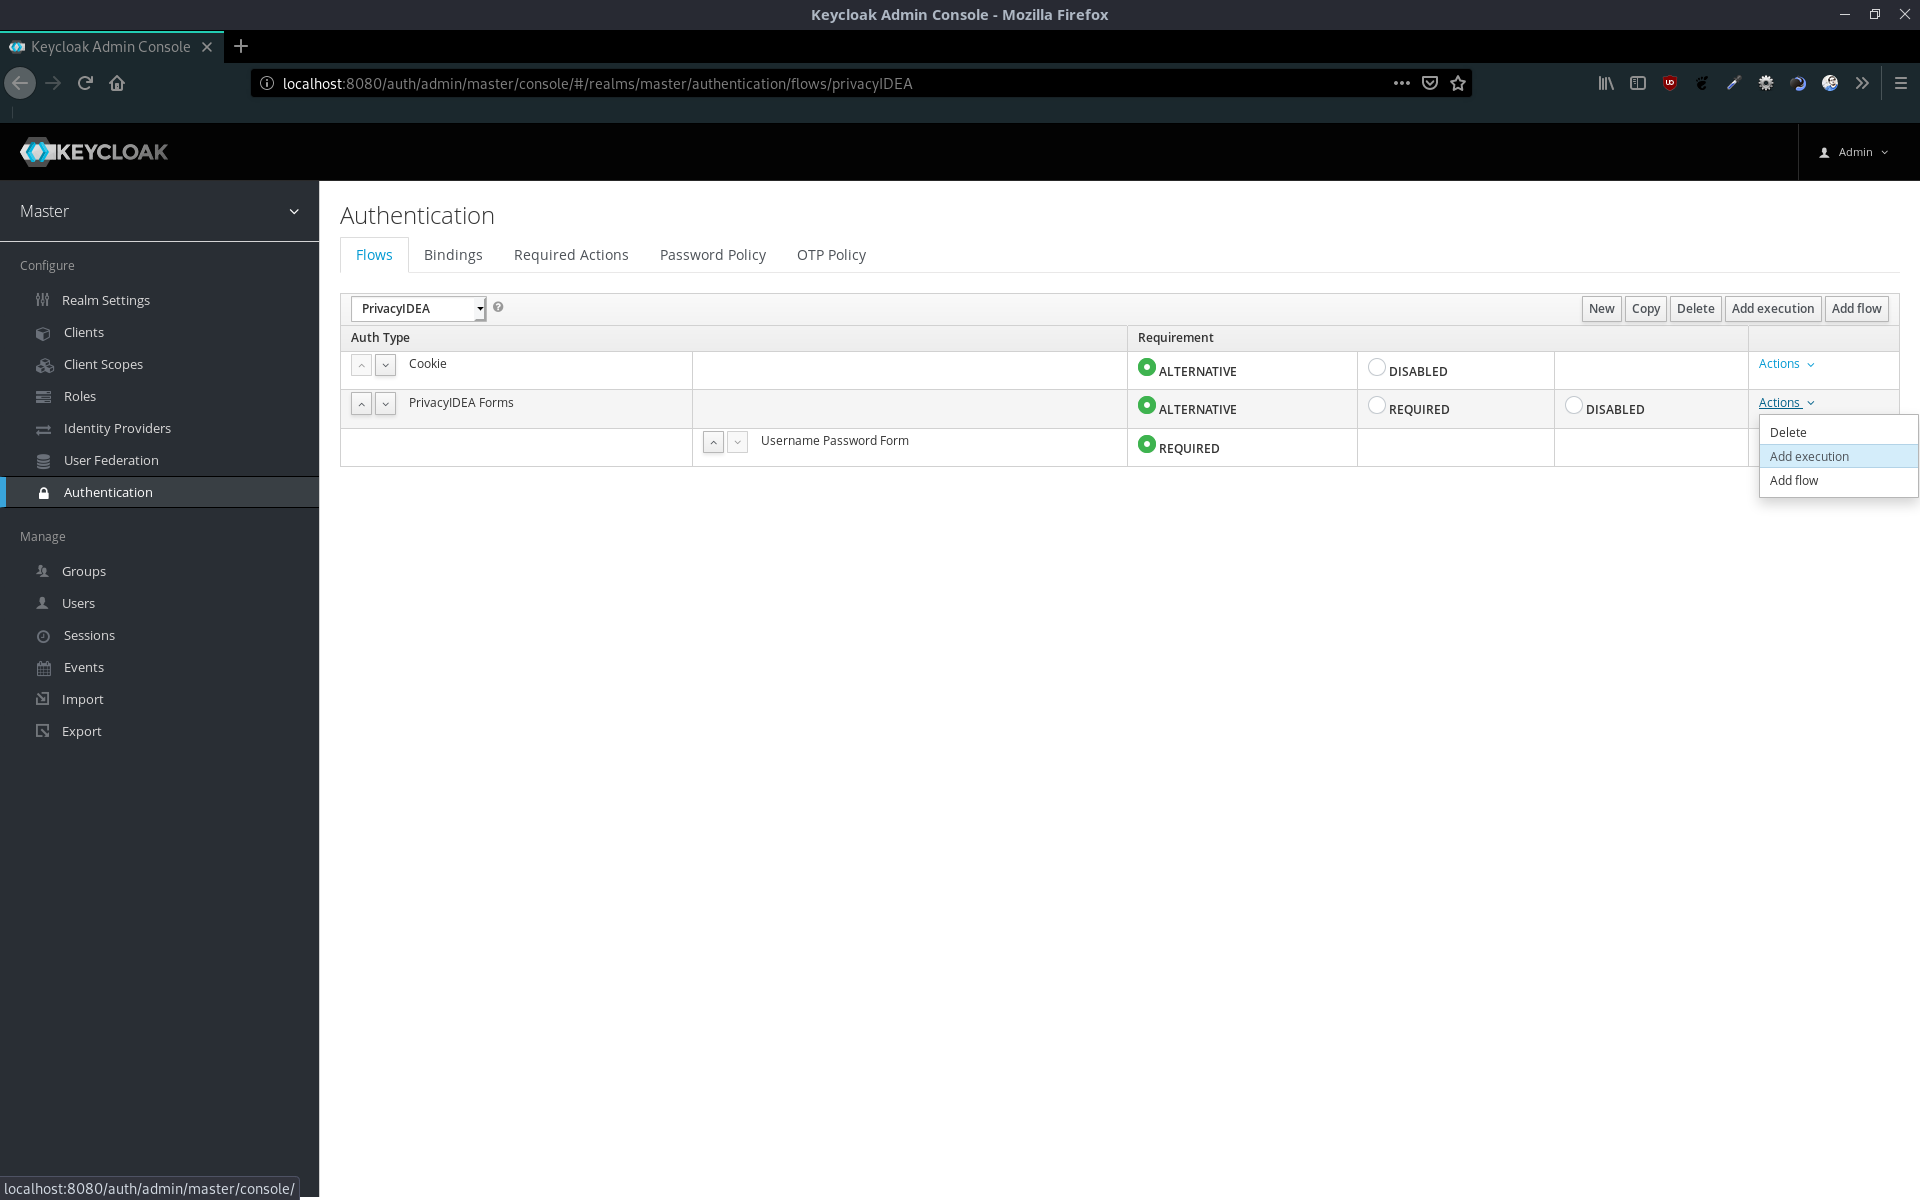
In the dropdown menu select PrivacyIDEA and click on save.

Mark PrivacyIDEA as REQUIRED and click on Actions > Config
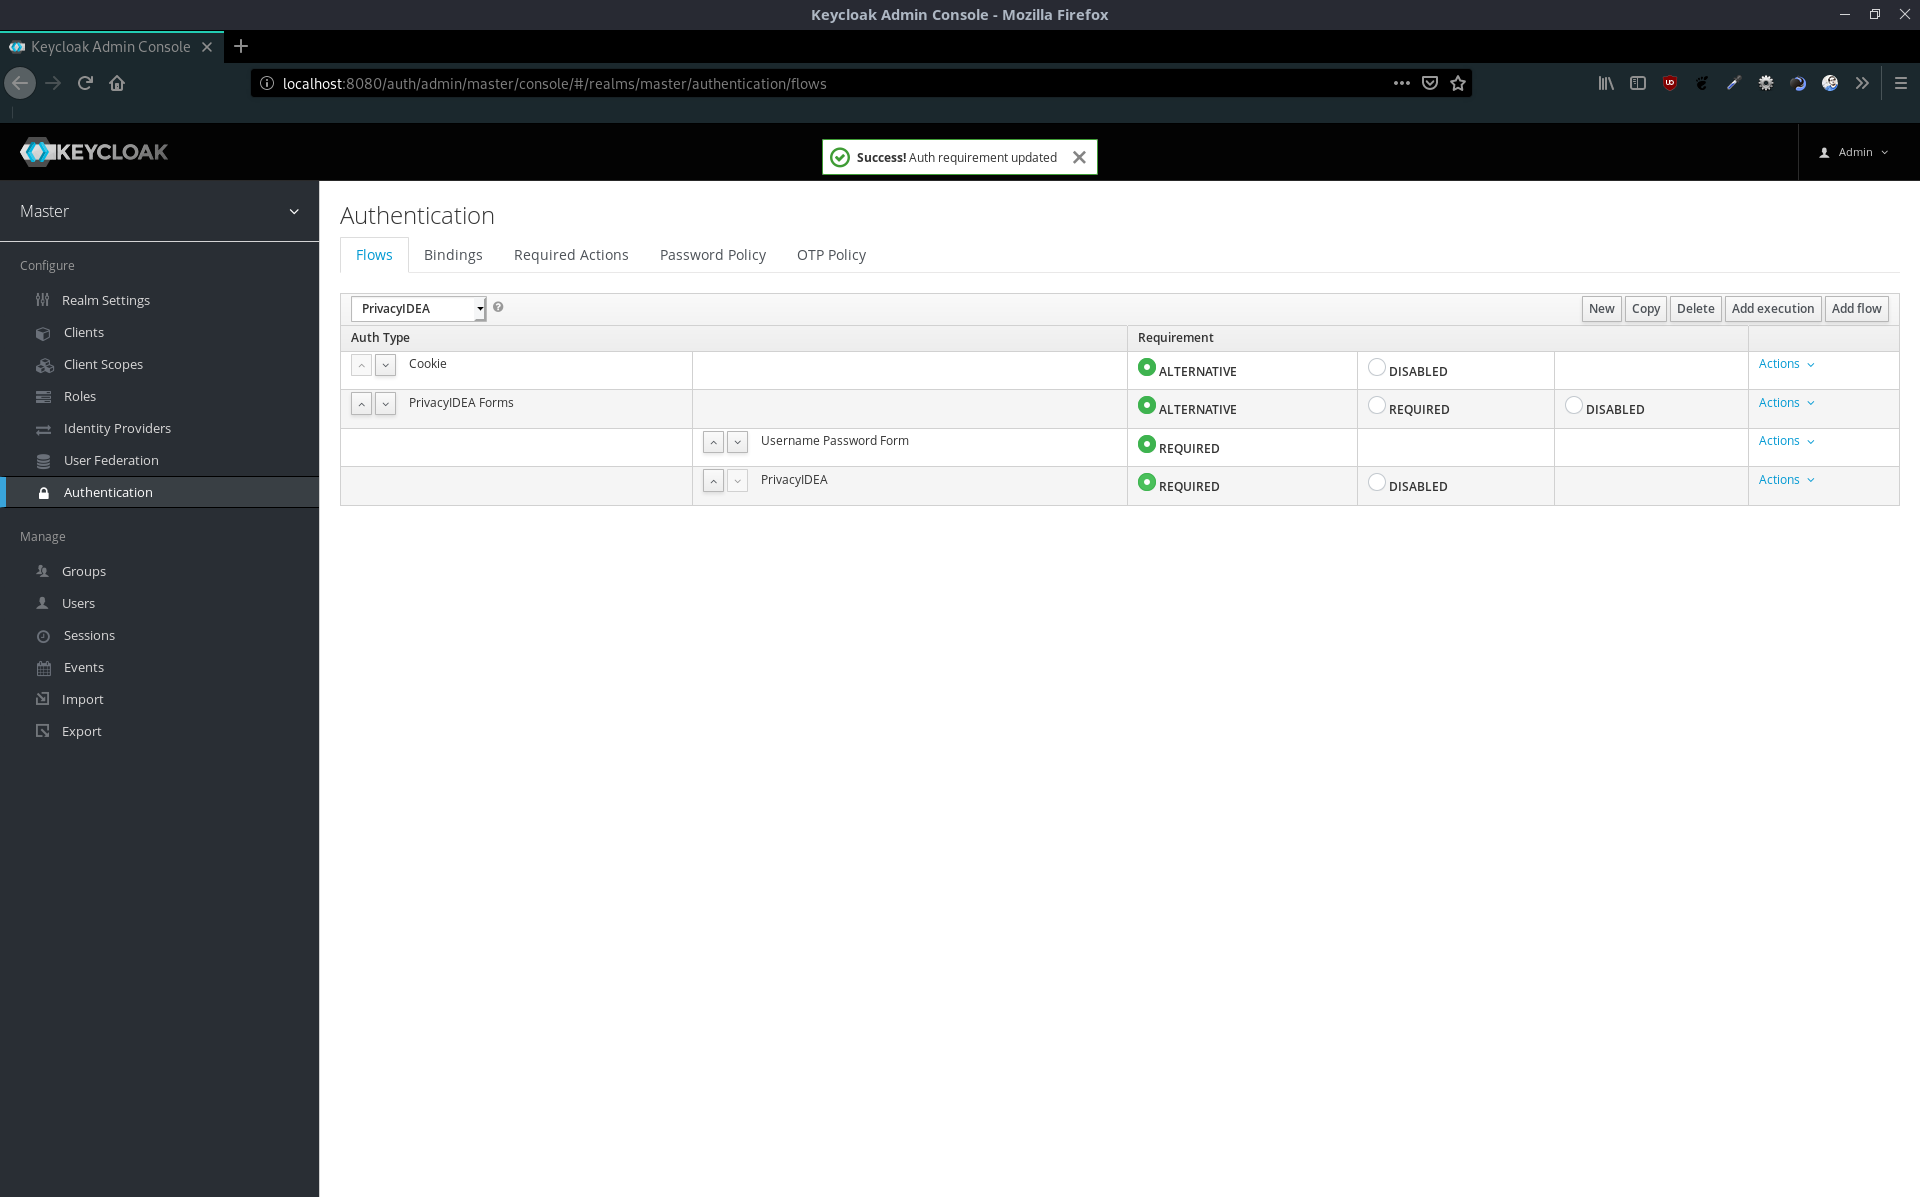
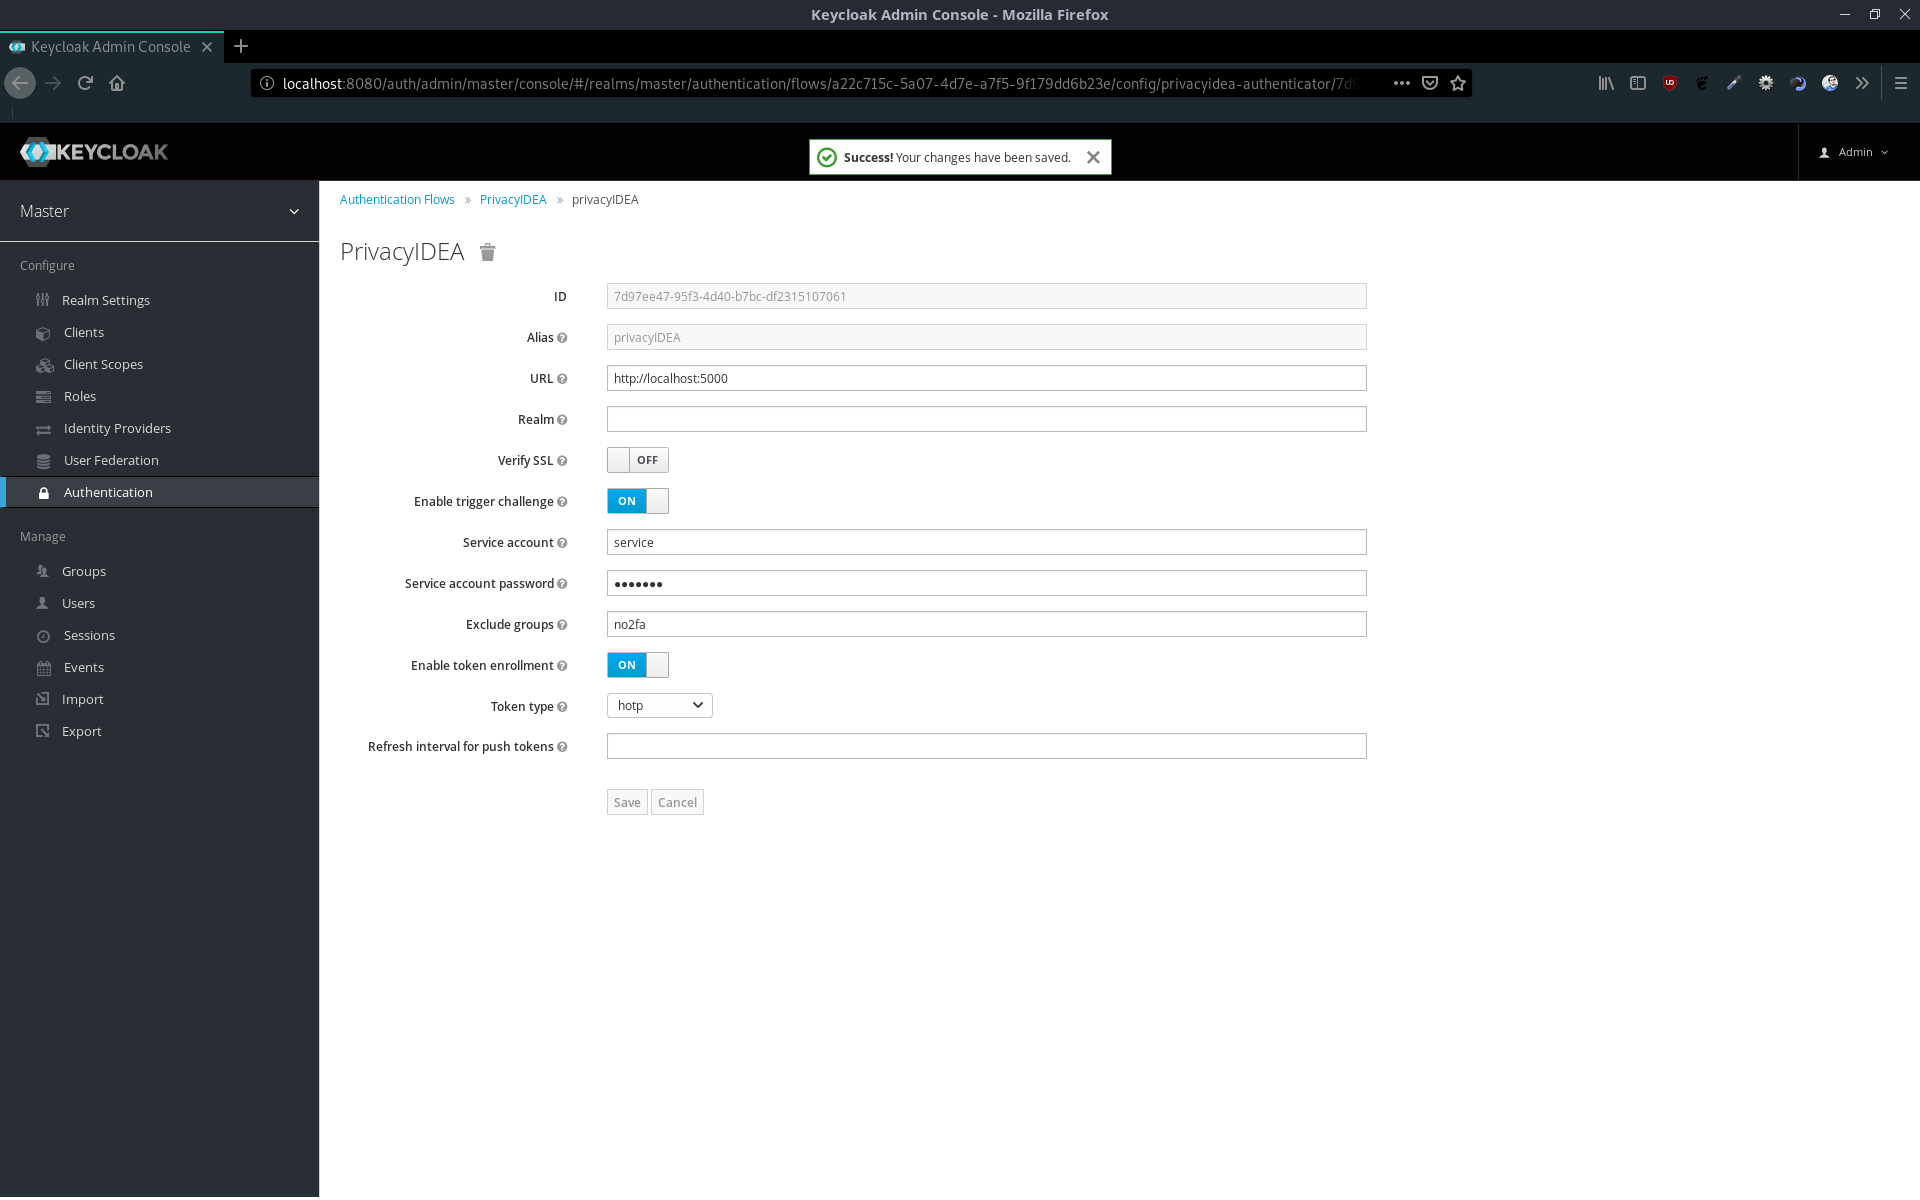
Now we can configure the privacyIDEA module.
- URL - Enter the url to your privacyIDEA instance
- Realm - If you are not using the default privacyIDEA realm, you can specify it here
- Verify SSL - Please do not uncheck this in a productive environment
- Enable trigger challenge - If you want to use challenge response tokens, enable it
- Service account - The privacyIDEA user to trigger challenges or to enroll tokens
- Service account password - The password for your service account
- Exclude groups - If you want to, you can exclude Keycloak groups from 2FA
- Enable token enrollment - If a user does not have a token yet, they can enroll one themselves
- Token type - If you have enabled the token enrollment, you can decide, which token type should be enrolled
- Refresh intervall for push tokens - If you use push tokens, you can choose the intervall in seconds (leave blank for default)
After saving the configuration, we can bind the privacyIDEA flow to the browser flow.
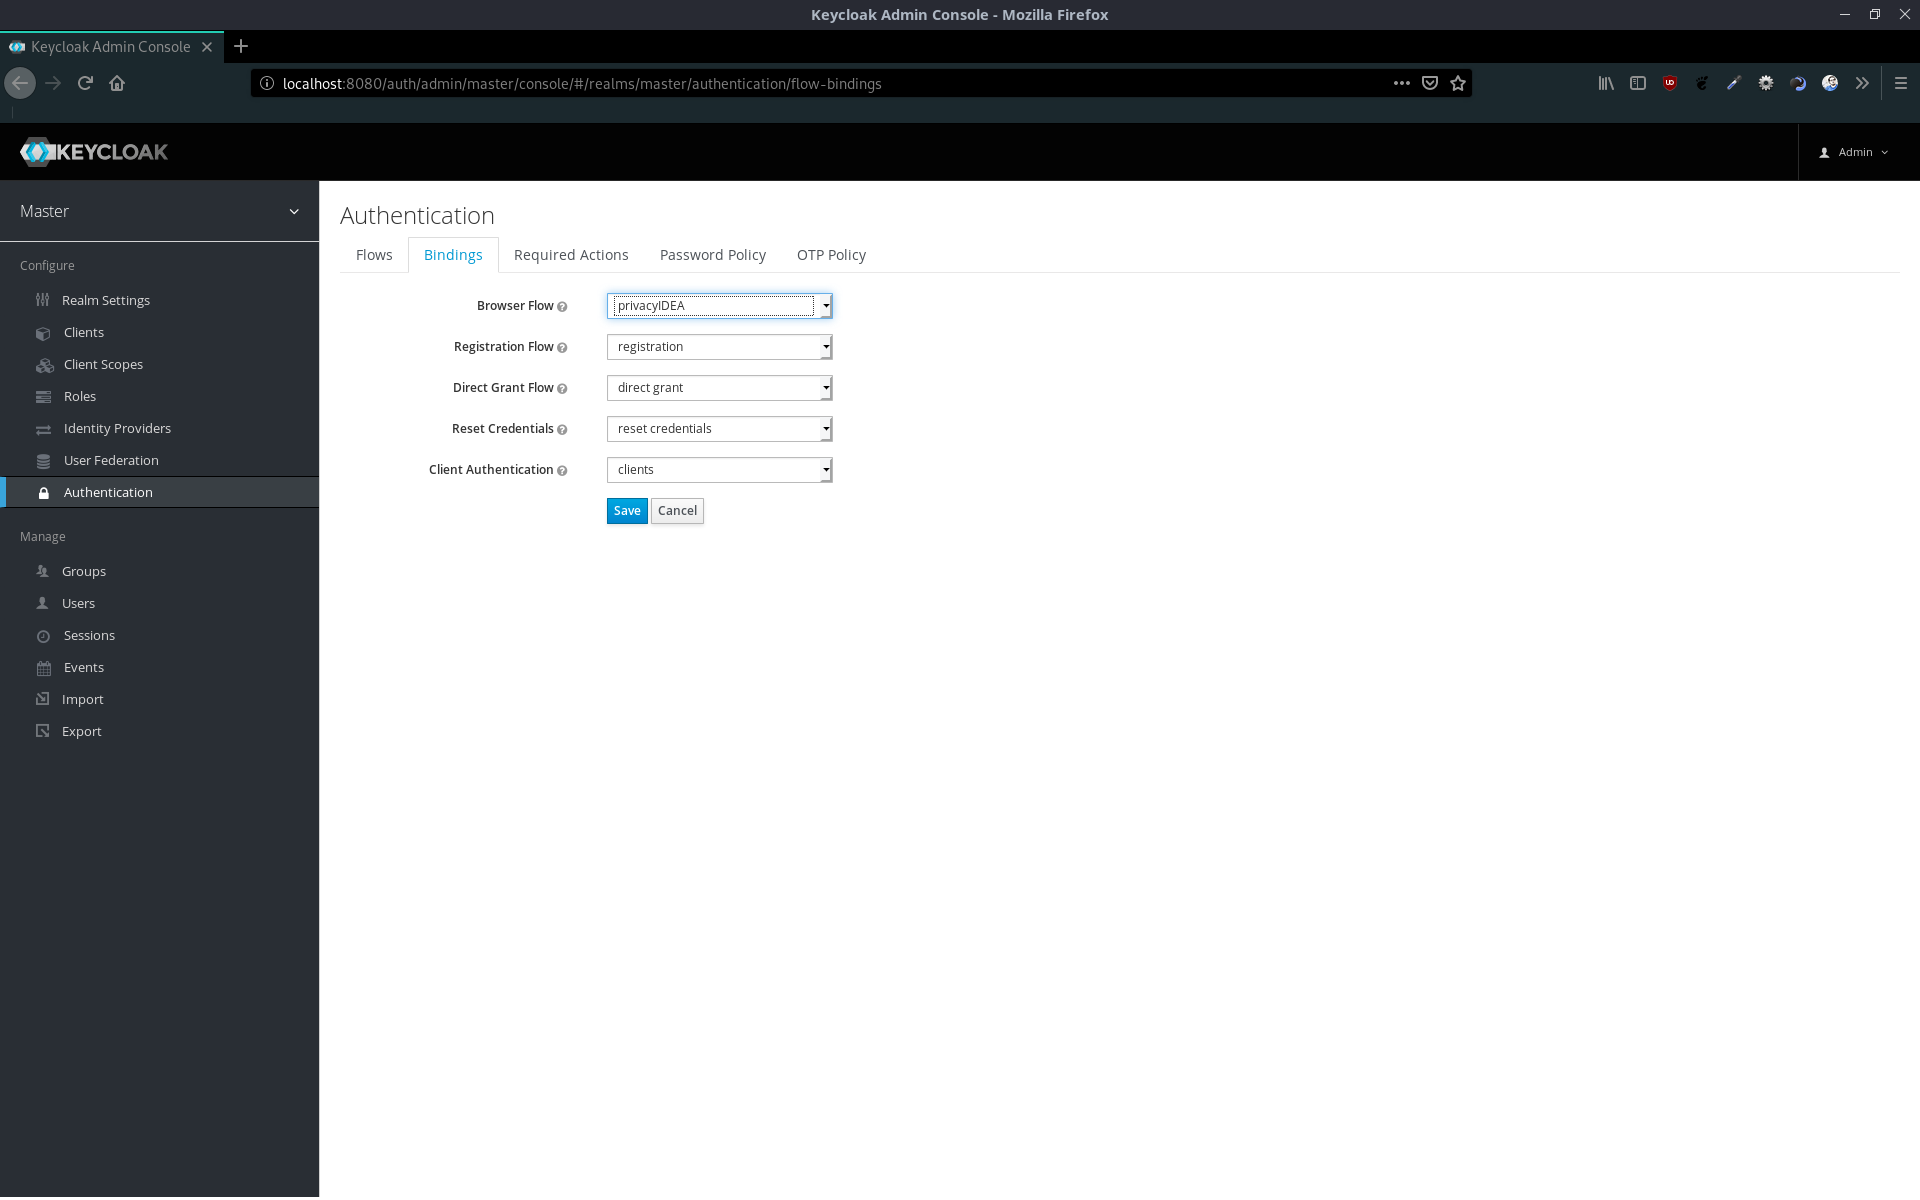
Congratulations! Keycloak is set up with privacyIDEA!
Now we can add a client to use Keycloak with Drupal, which we will configure later.

Drupal
Configuration
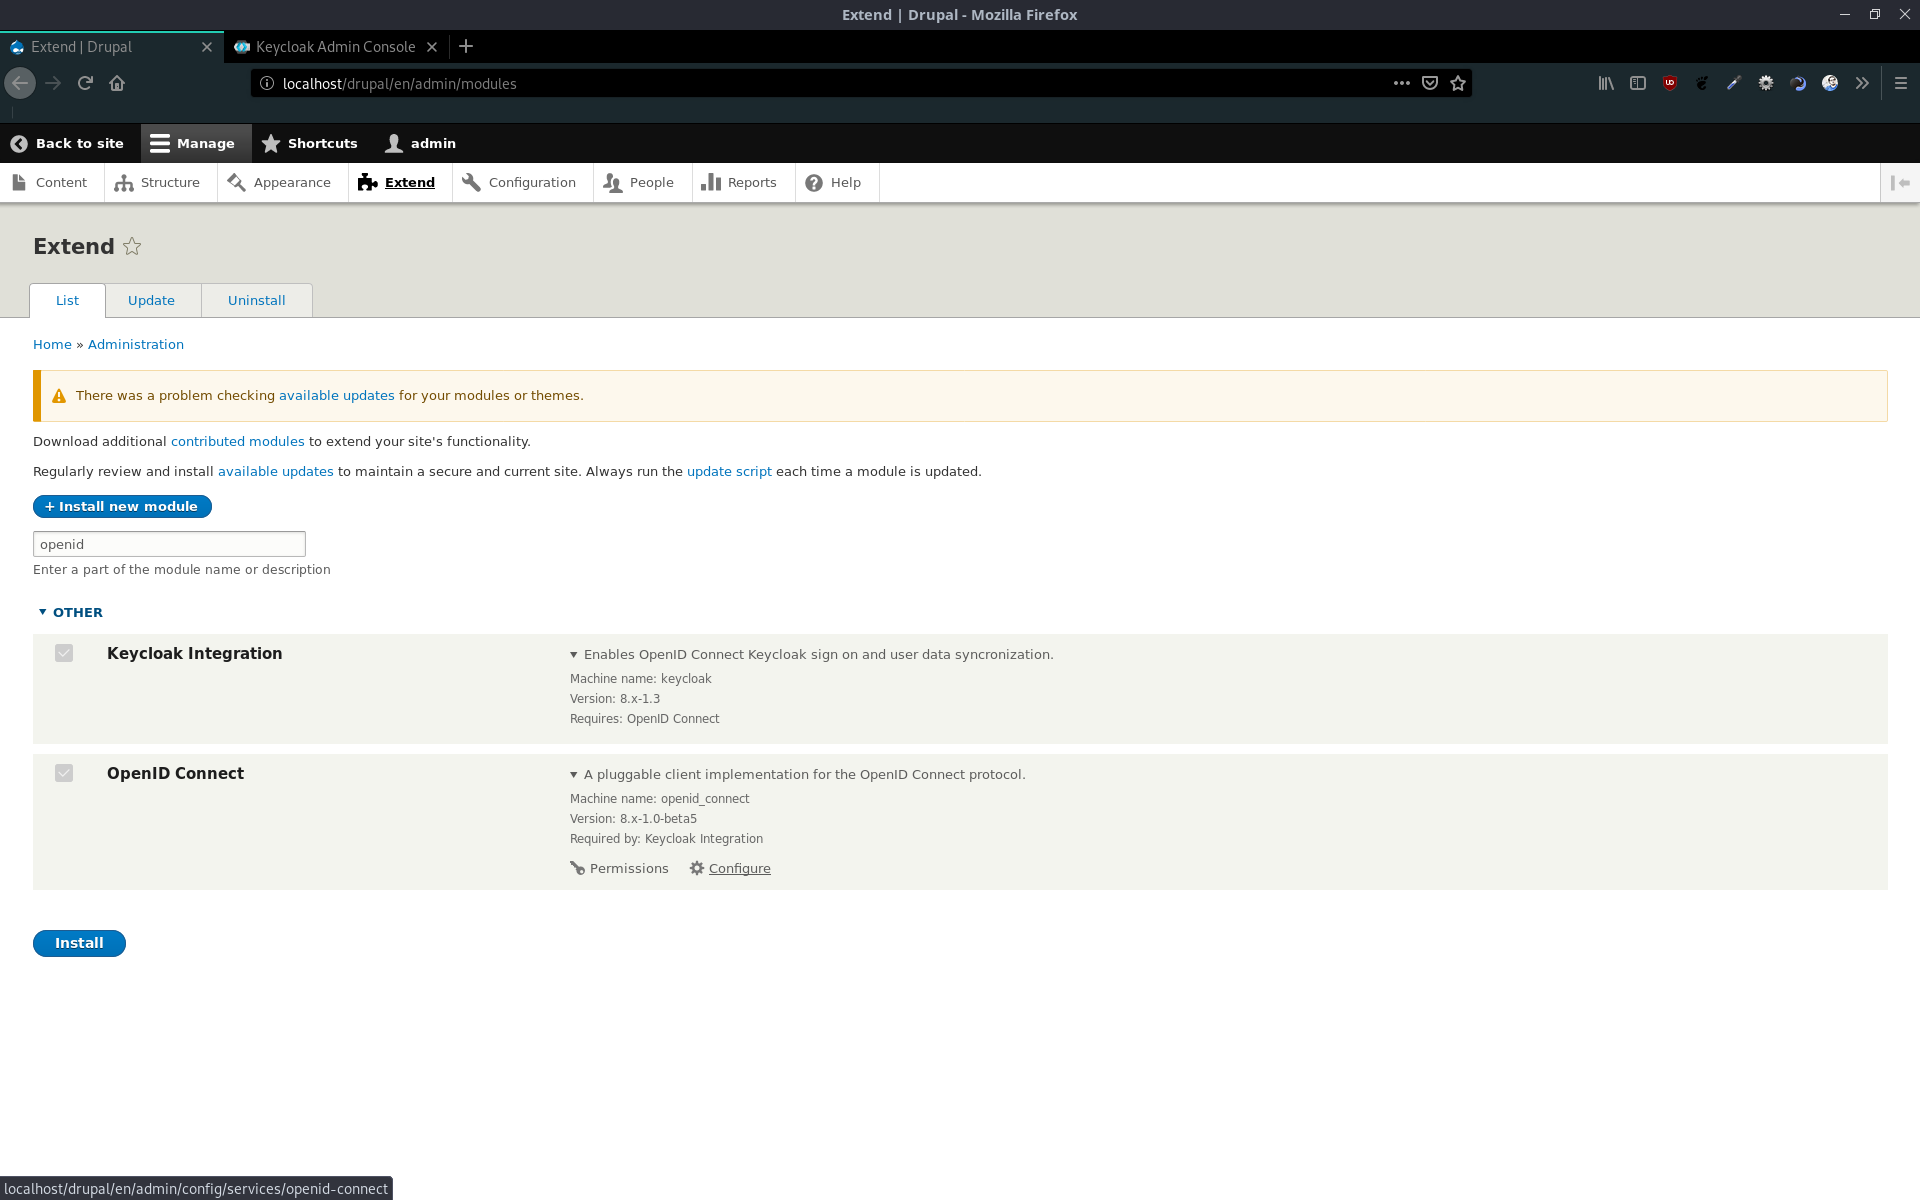
At first we need to install these two plugins:
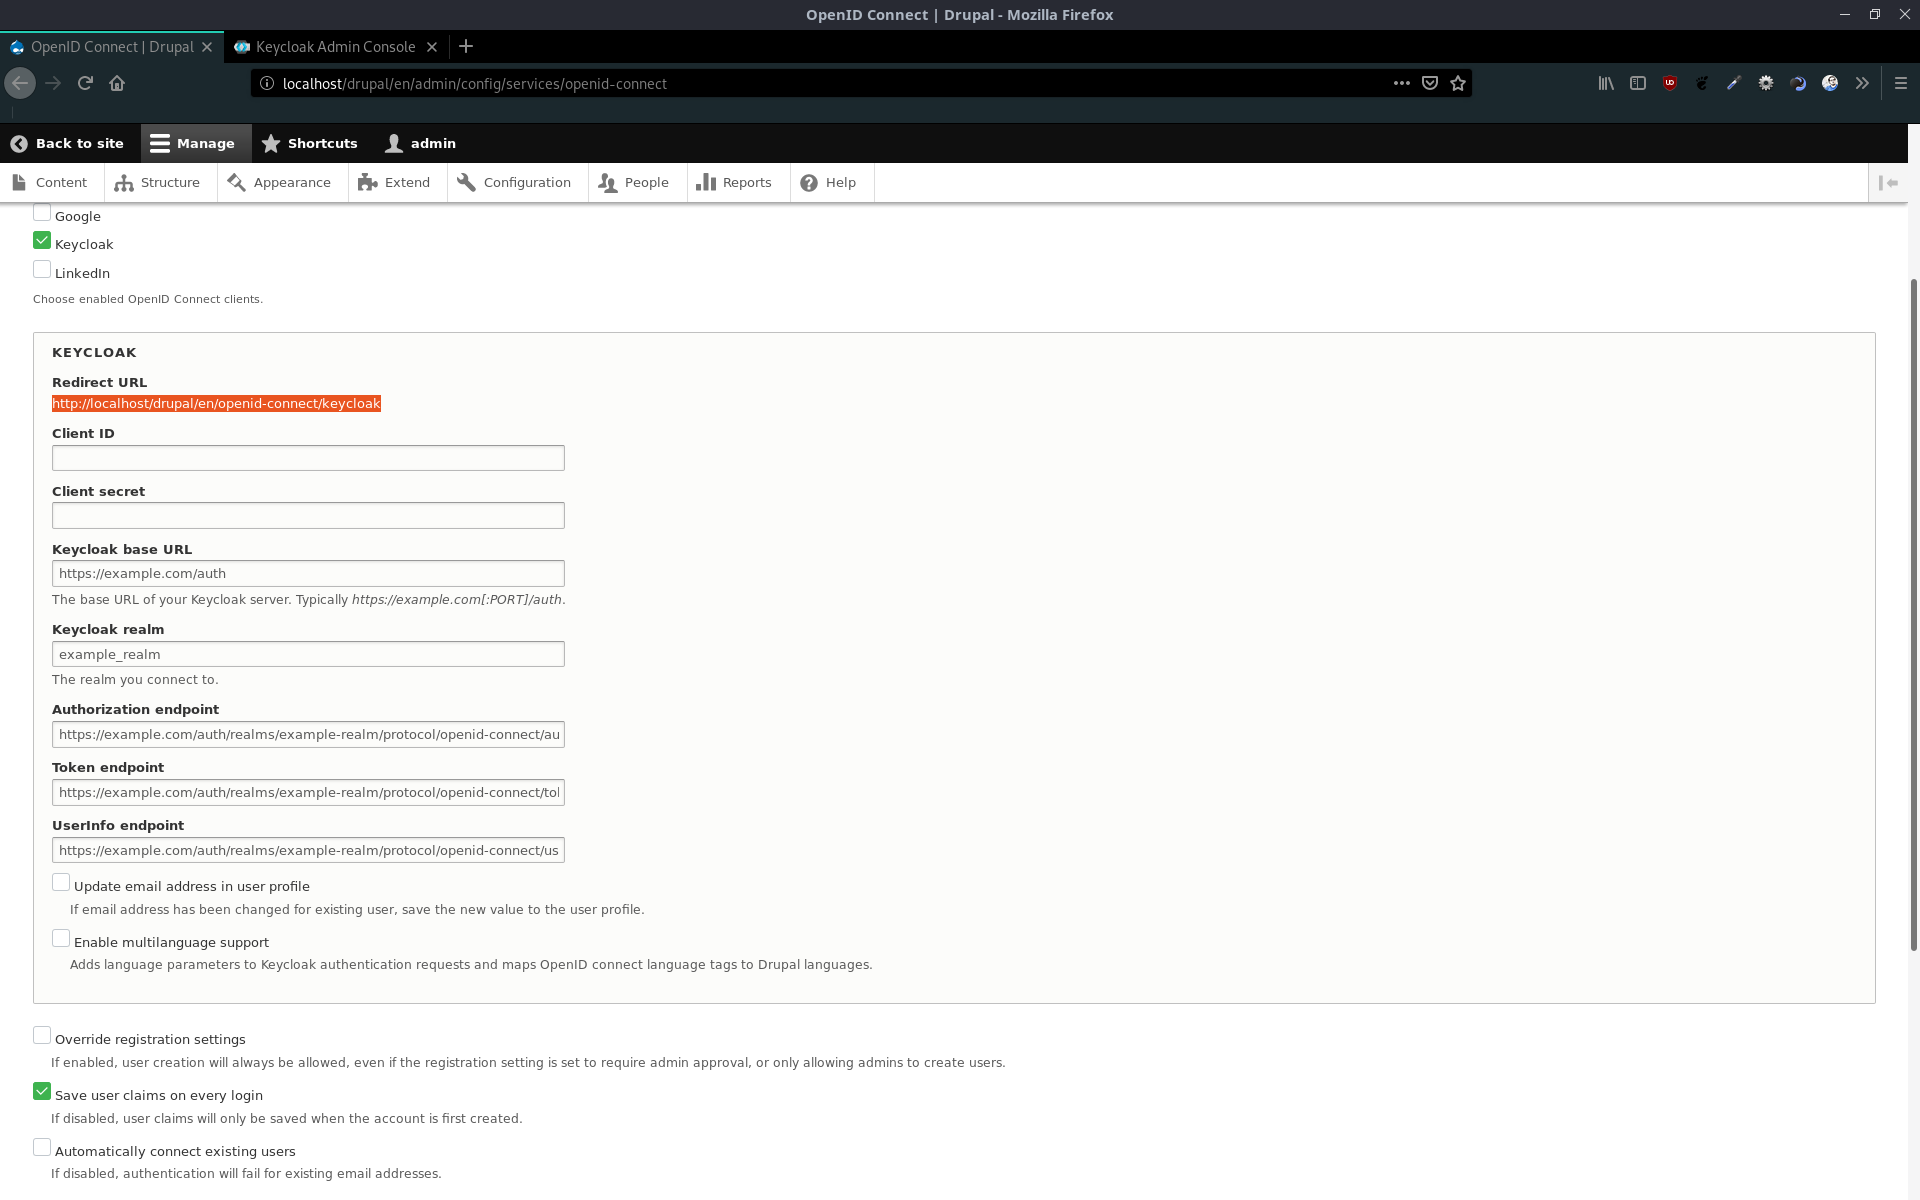
After that, we start to configure OpenID Connect
In the menu at the top, we choose Keycloak as OpenID Connect client. Then we will get a redirect URL, which we need to enter in the Keycloak client setup.
-
Authorization Enabled- must be true, to get the client secret -
Valid Redirect URIs- should be copied from Drupal (see above)

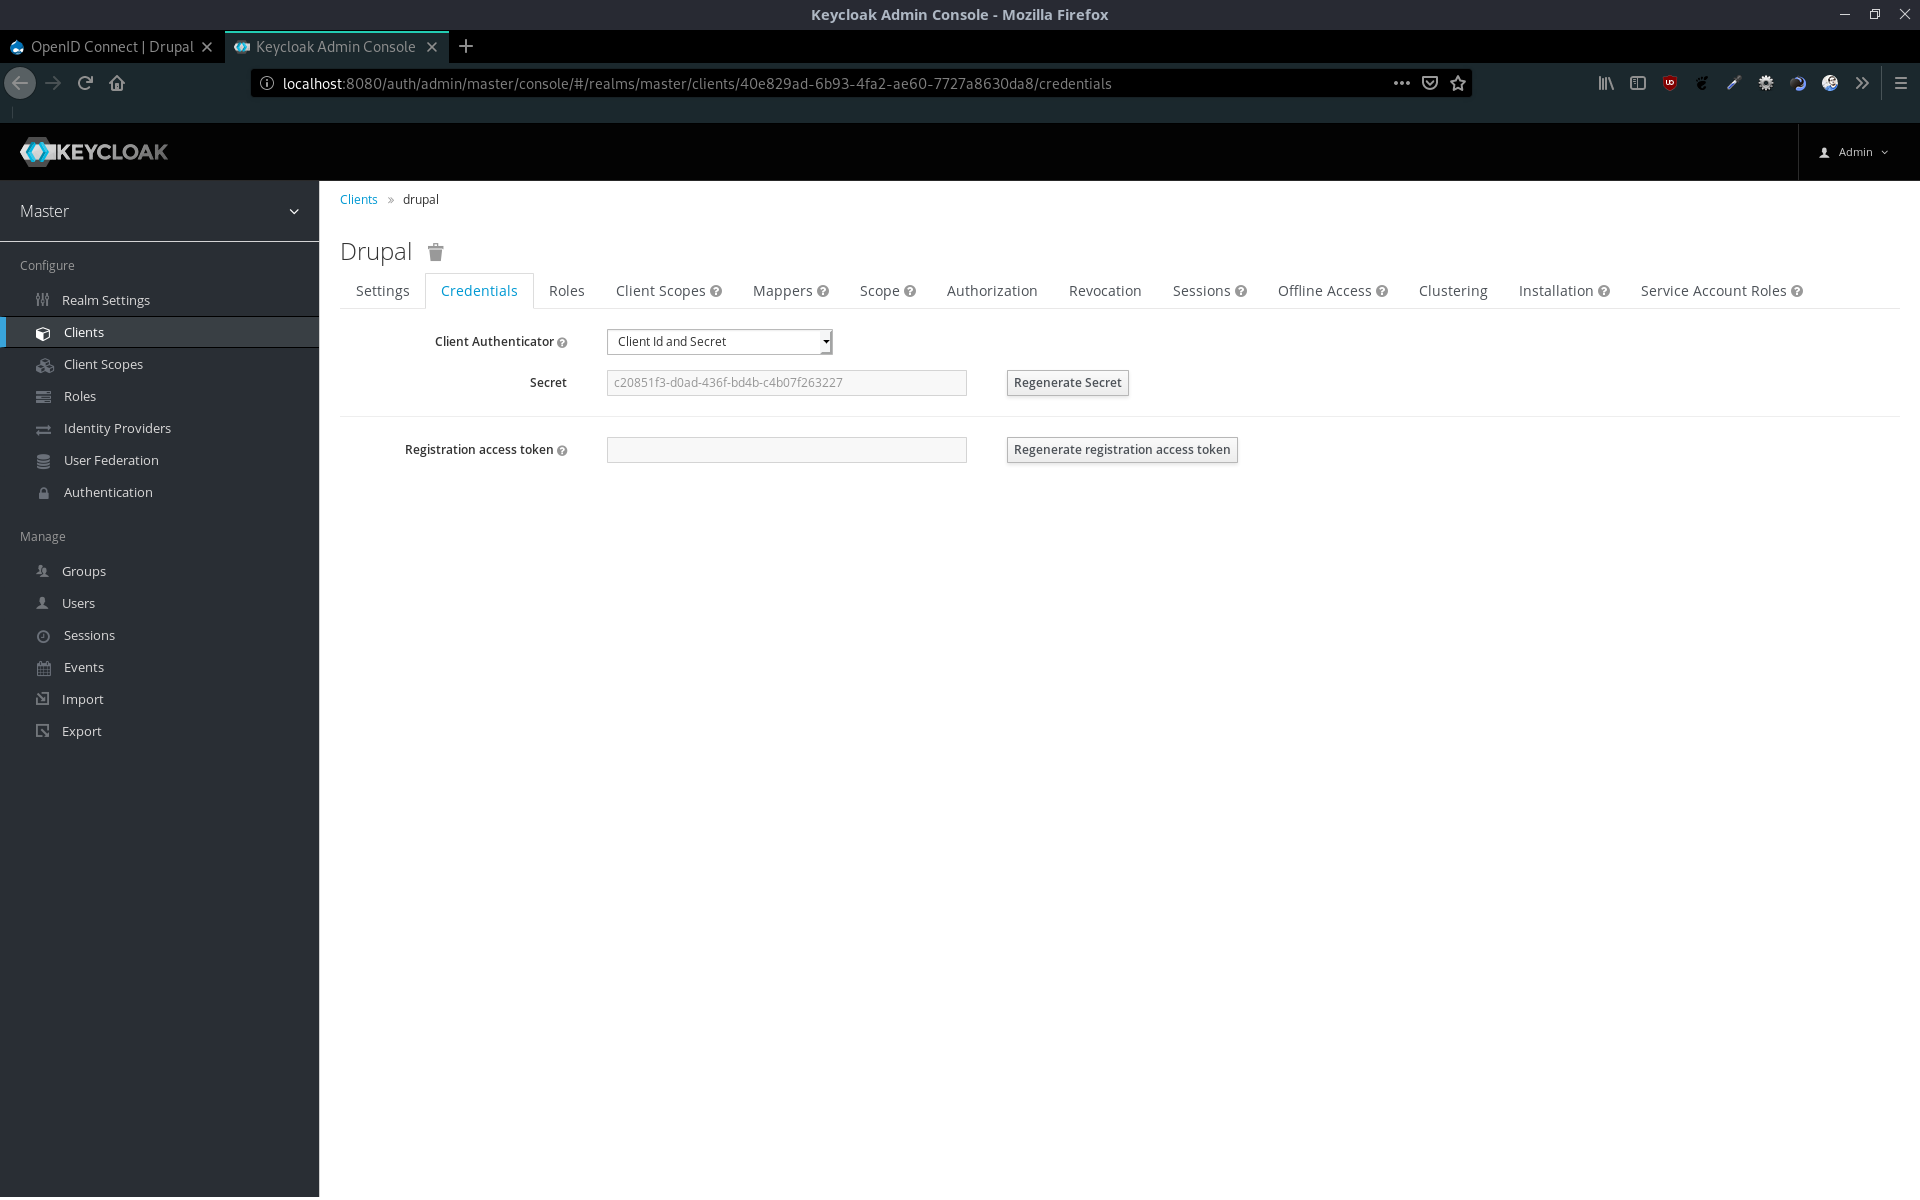
After saving it, you will see the new tab Credentials. Copy the secret.
Now we can set up the plugin in Drupal completely.
-
Cliend ID- The id, which we set up for the Keycloak client -
Client secret- The secret, which we copied from Keycloak -
Keycloak base URL- {Keycloak URL}/auth -
Keycloak realm- Keycloak's realm to login -
Authorization endpoint- {Keycloak URL}/auth/realms/{realm-name}/protocol/openid-connect/auth -
Token endpoint- {Keycloak URL}/auth/realms/{realm-name}/protocol/openid-connect/token -
Userinfo endpoint- {Keycloak URL}/auth/realms/{realm-name}/protocol/openid-connect/userinfo

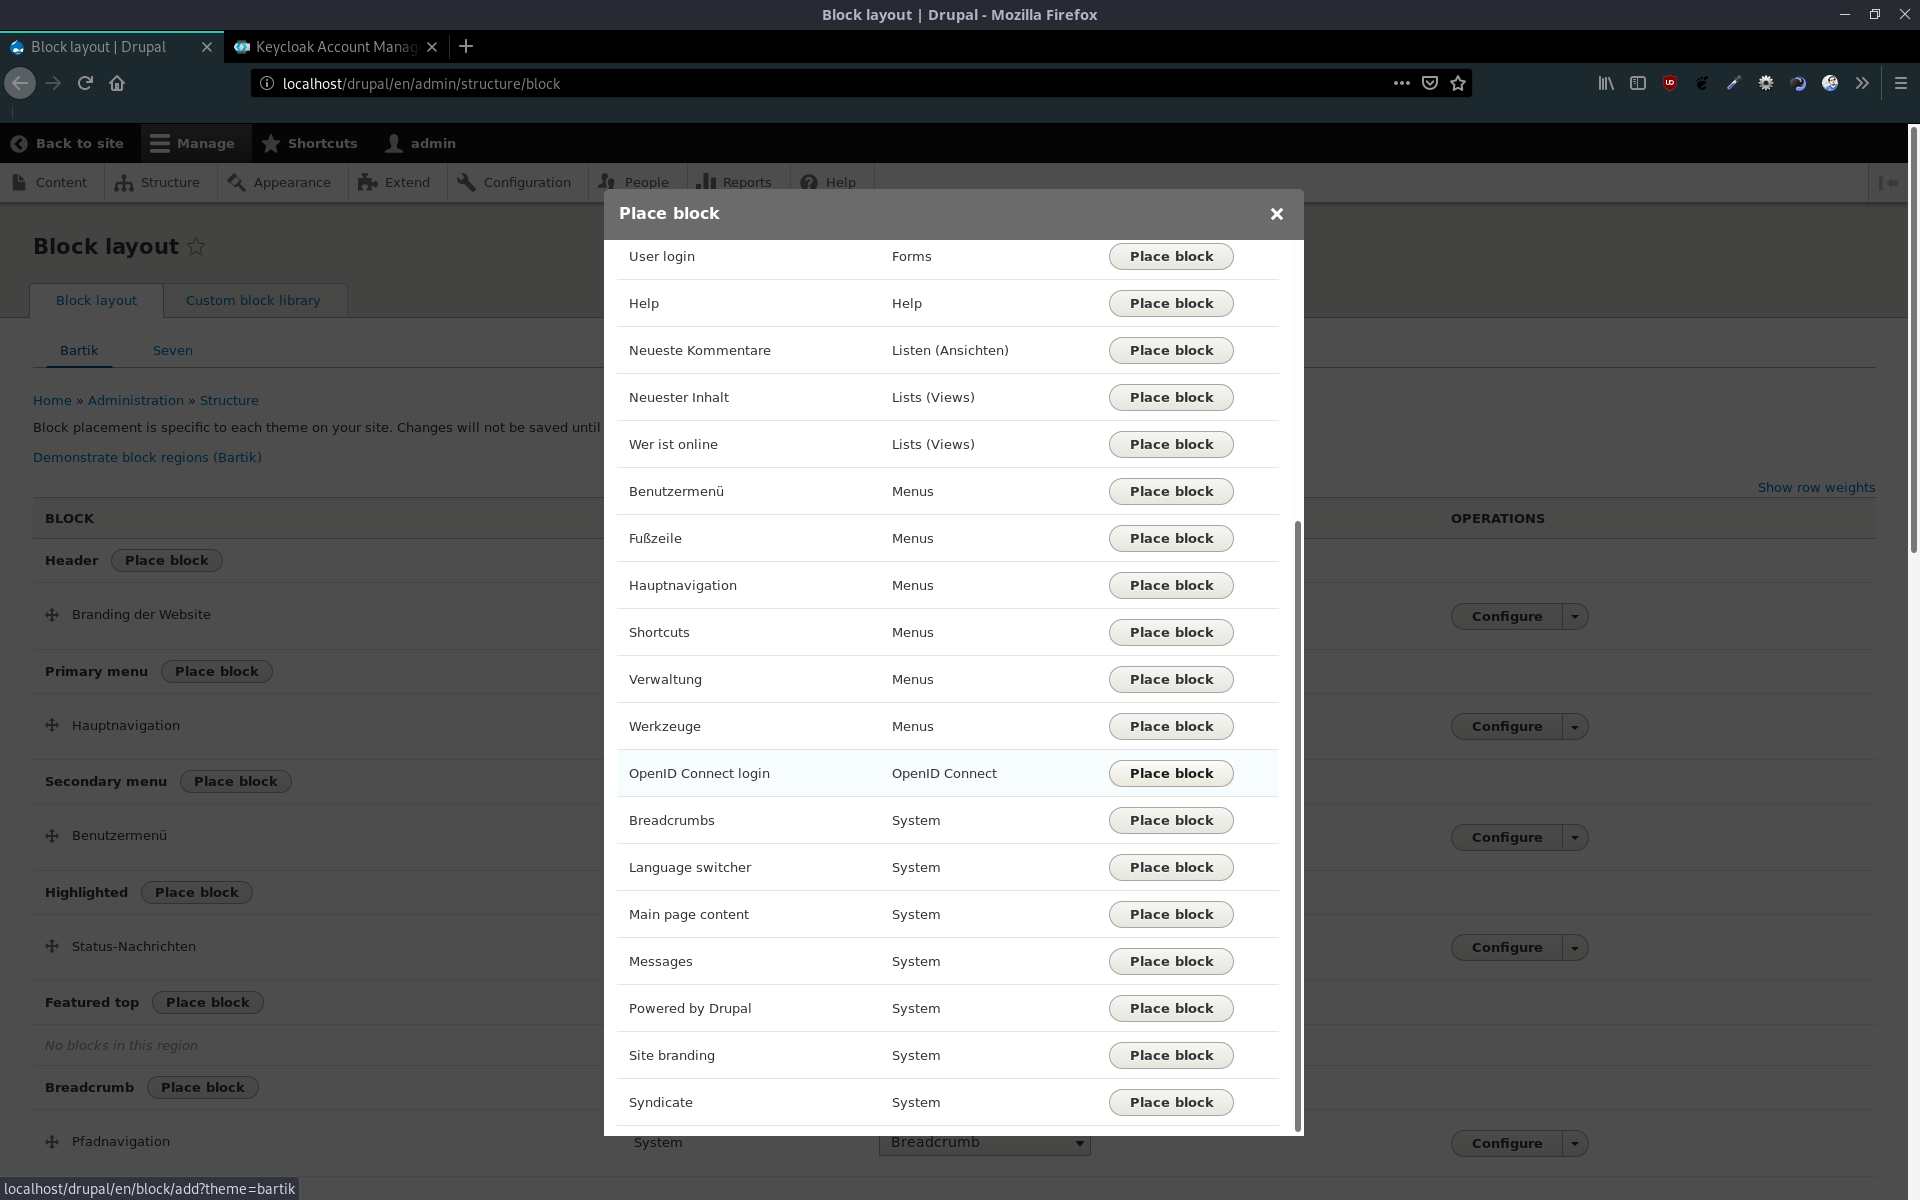
The last thing, we have to set, is the position for the login button. In my case, I chose the header. Just add a block and select OpenID Connect login
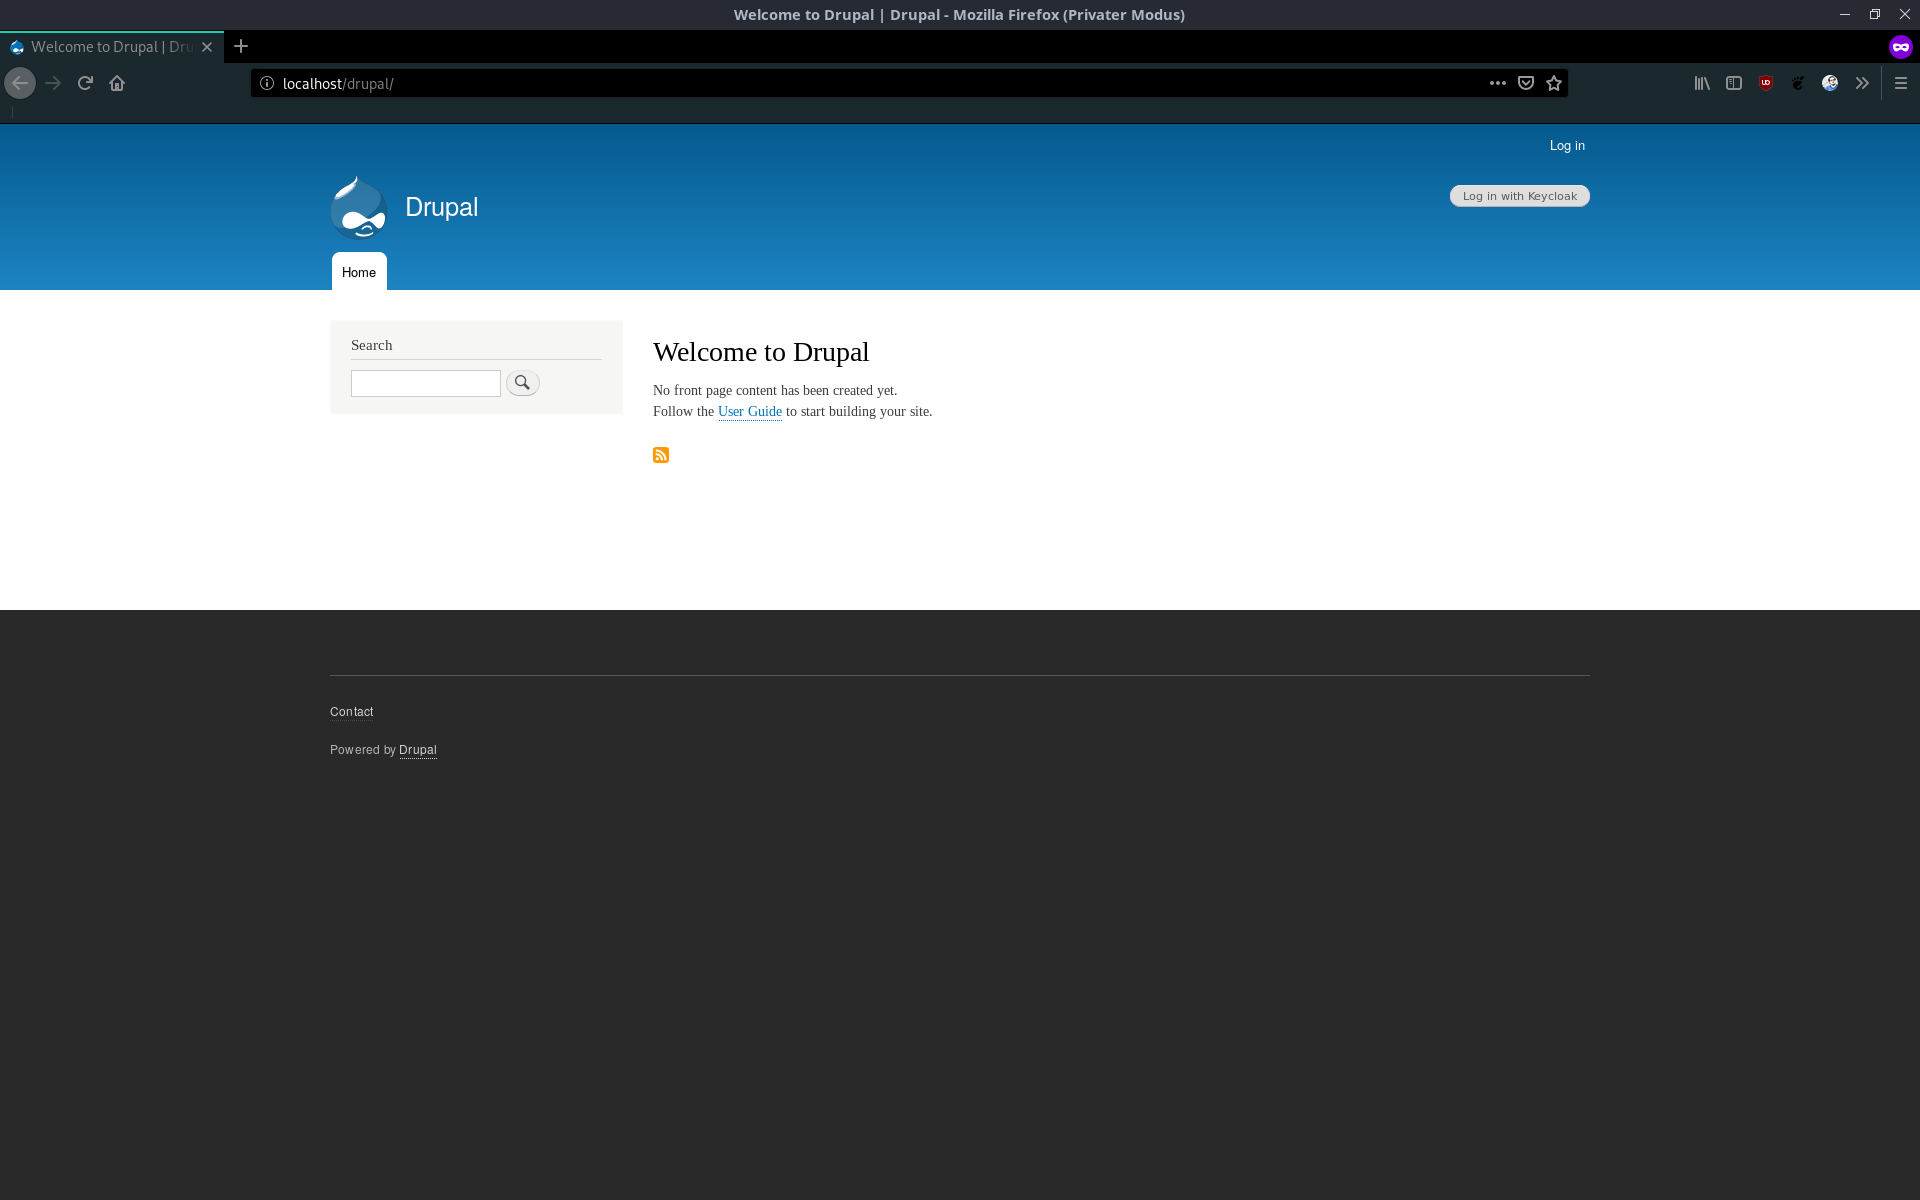
That's it! A user can now simply log in by clicking on the "Log in with Keycloak" button and will be redirected to Keycloak to login with their first and second factor, as you configured.
Known issue
- Keycloak error "Invalid Redirect URI"
- Remove the language string (e.g. "/en") from the Redirect URI in the Keycloak client setting.
{Drupal URL}/en/openid-connect/keycloak{Drupal URL}/openid-connect/keycloak
- Remove the language string (e.g. "/en") from the Redirect URI in the Keycloak client setting.